The Sub-Agents page serves as a central management area for handling sub-agents within your organization. This page provides a comprehensive overview of all Sub-Agents and their details, along with functionality for adding, editing, and managing their status.
Key Features
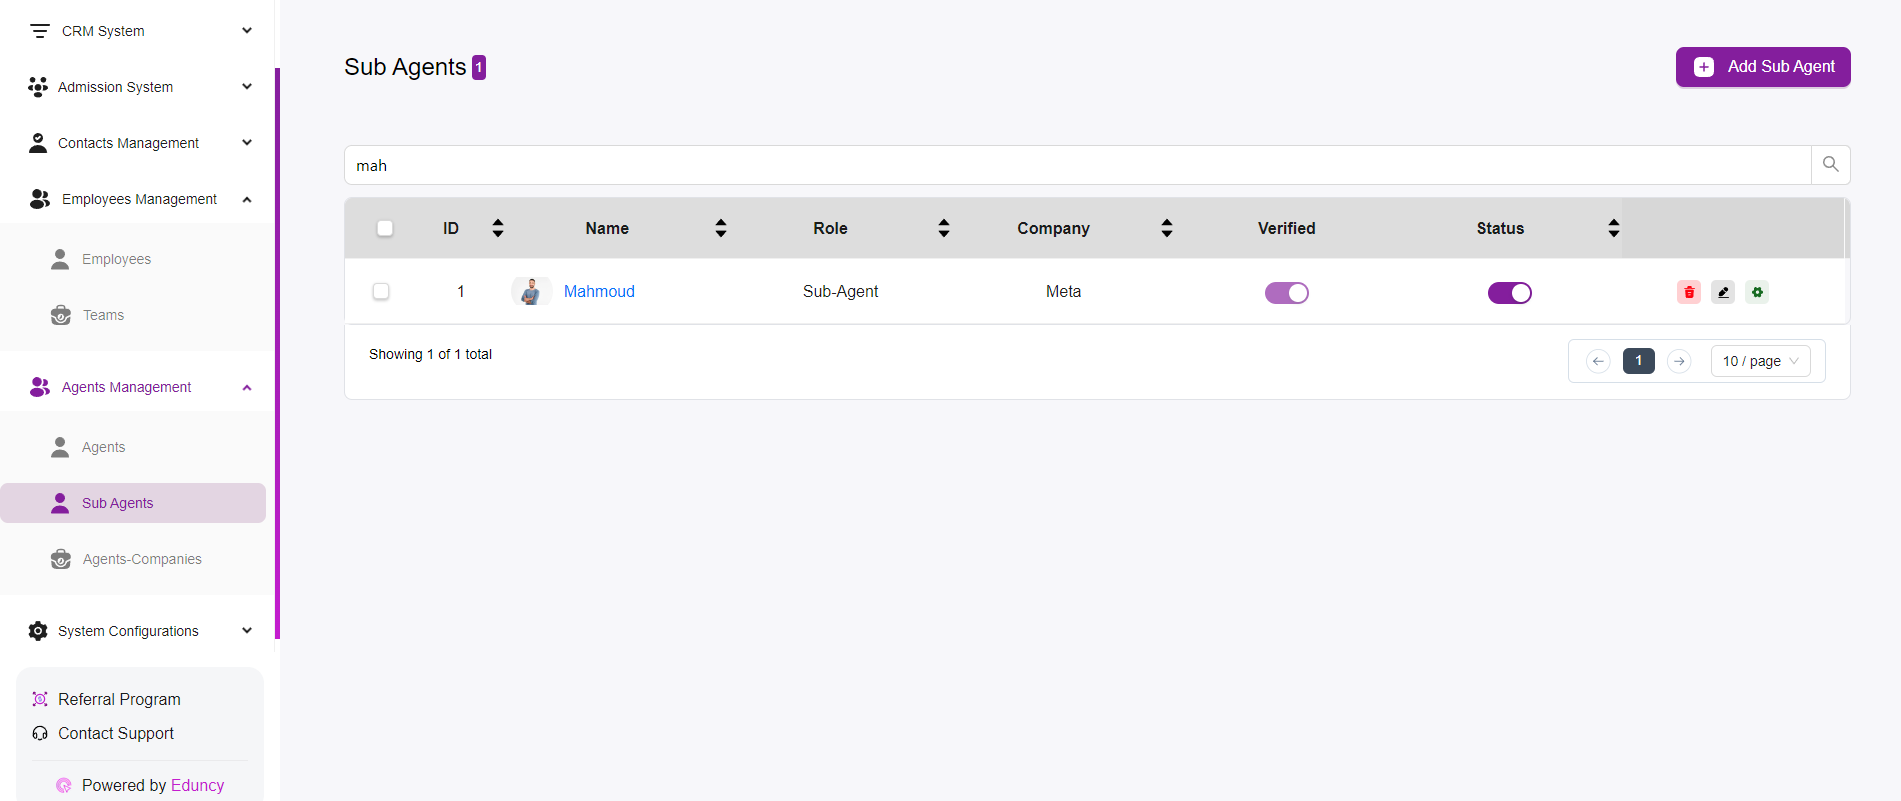
- Sub-Agents List:
- Displays all the agents in the system, including their ID, Name, Role, Company, Verified status, and Overall Status.
- Each agent entry provides a quick overview of the agent’s essential details.
- Add Sub-Agent:
- Located at the top right corner, the “+ Add Sub-Agent” button allows you to create a new sub-agent.
- Clicking this button will open a form where you can enter the new agent’s details.
- Verified and Status Toggles:
- Each sub-agent has a toggle under the Verified column to indicate whether the agent’s information is verified.
- There is also a status toggle to indicate whether the sub-agent is active or inactive.
- Search Functionality:
- The search bar at the top enables you to quickly find a specific agent by typing in keywords related to the agent’s name or other attributes.
- Editing and Deleting Agents:
- Each agent entry has three icons:
- Edit (Pencil Icon): Allows you to modify the agent’s details.
- Delete (Trash Icon): Enables you to remove the agent from the system.
- Settings (Gear Icon): Opens additional settings or configurations for the agent.
- Each agent entry has three icons:
- Pagination:
- The pagination controls at the bottom allow you to navigate through the list of agents if there are more entries than can fit on one page.
- You can adjust the number of agents displayed per page using the dropdown menu.
Managing Sub-Agents
- Adding a Sub-Agent:
- Click on the “+ Add Sub-Agent” button.
- Fill in the agent’s details such as name, role, company, etc.
- Submit the form to create the agent.
- Verifying and Changing Status:
- Use the toggle buttons to verify the agent’s information and change their active status.
- Verified agents have a purple toggle, while the status toggle indicates whether the agent is active or inactive.
- Editing a Sub-Agent:
- Click on the pencil icon next to the agent you wish to edit.
- Update the agent’s details as needed and save your changes.
- Deleting a Sub-Agent:
- Click on the trash icon next to the agent you wish to delete.
- Confirm the deletion to remove the agent from the system permanently.
- Additional Settings:
- Click on the gear icon for any additional configurations or settings specific to the agent.