The Campus Management feature in the system allows users to manage and organize campus information efficiently
-
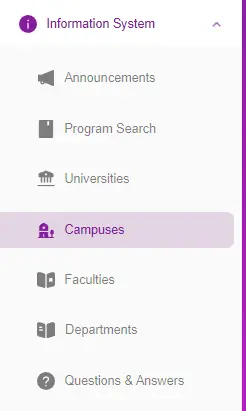
Navigate to the Campuses Section:
-
On the left-hand side menu, locate and click on “Campuses” under the “Information System” category.
-
-
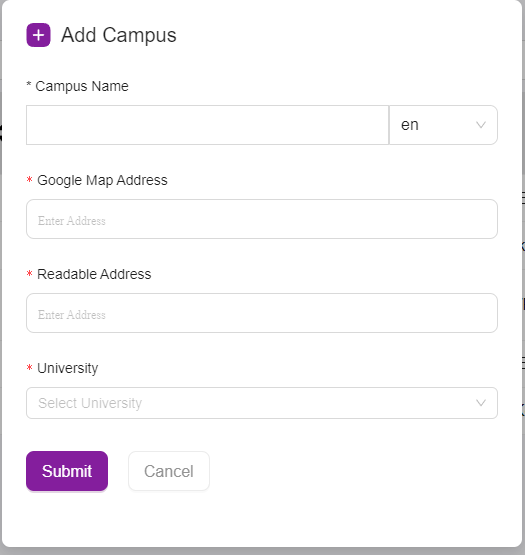
Open the Add Campus Window:
-
Click on the “Add Campus” button, which is located in the top right corner of the Campuses page.
-

-
Enter the Campus Details:
-
Campus Name: Enter the name of the campus.
-
Google Map Address: Enter the Google Map address for the campus.
-
Readable Address: Enter a readable address for the campus.
-
University: Click on the “Select University” dropdown menu and choose the appropriate university from the list.
-
-
Submit the Campus Information:
-
After filling in all the required fields, click the “Submit” button at the bottom of the window.
-
If the “Submit” button is not active, ensure that you have completed all the required fields.
-